Modular Modeling
Introduction
Modeling dense environments like city blocks, apartment complexes, or industrial facilities can be modeling more efficiently than building the entire object in one piece. A possible approach is called Modular Modeling.
Borrowed from game development, this technique treats 3D assets like building blocks: individual components designed to snap together and form larger, complex structures. While game developers use it for performance optimization, it's equally valuable for speed, accuracy, and iteration in forensic reconstruction and architectural visualization.
The principle is simple: build once, reuse everywhere.
Resources
Access guides on modular workflows, asset libraries, and instancing techniques for rapid scene building.
Links
Explore Blender's linked duplication, snapping, and modular asset management tools.
Videos
Watch tutorials on modular modeling for forensic and architectural reconstruction.
The Core Concept: Atomic Design
Instead of modeling a building as a single unique sculpture, you break it down into its constituent atomic parts.
- Monolithic Modeling: You model a 5-story building as one object. If the building actually has 6 floors, you must manually edit the entire mesh, fixing UVs and geometry.
- Modular Modeling: You model a single "Floor" module. To change the building from 5 to 6 stories, you simply duplicate the module once more.
The Technical Workflow
The Power of the Grid
In modular modeling, the Grid is your master. If your modules don't adhere to a strict numerical increment, the entire system fails during assembly.
- Metric Increments: Work in powers of 2 or round decimals (e.g., 0.5m, 1m, 2m).
- The "Power of Two" rule: Even in non-game workflows, using increments like 1m, 2m, 4m ensures that a double-width wall piece (2m) perfectly replaces two single-width pieces (1m).
- Pivot Point Placement: The origin (pivot) of every module must be placed at a "snap point"—usually the bottom-left corner or the exact center-base. This allows for Vertex Snapping and Grid Snapping without manual alignment.
Decomposition (Observation)
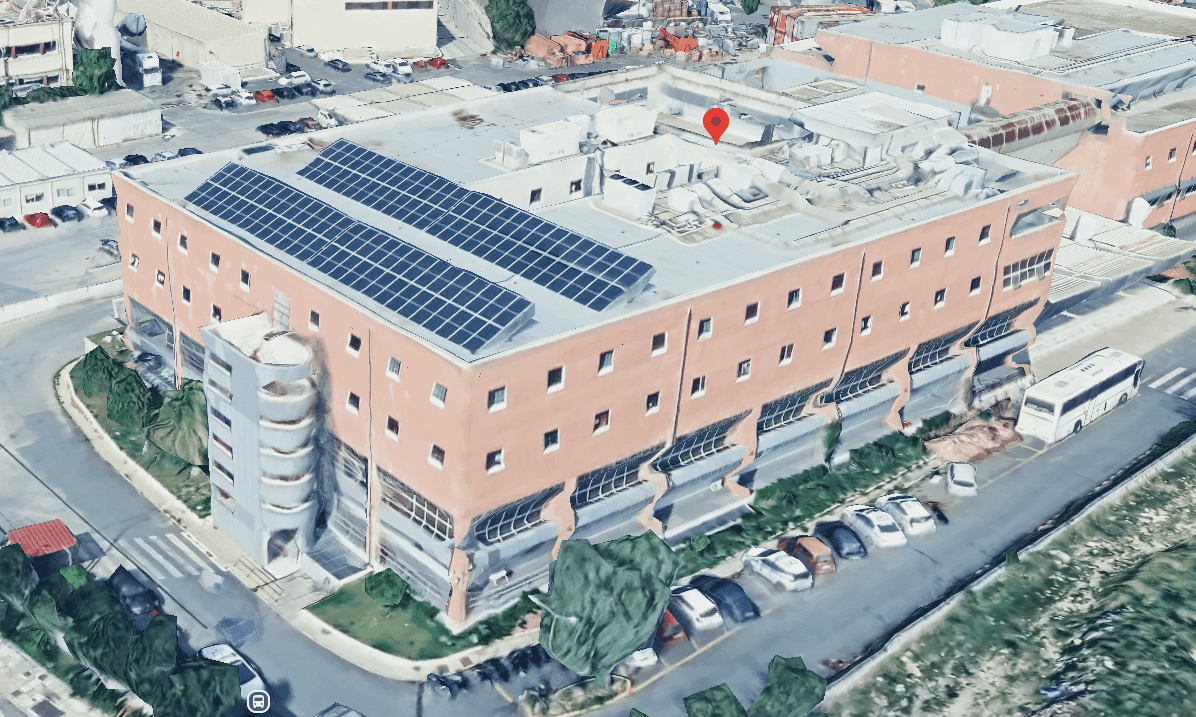
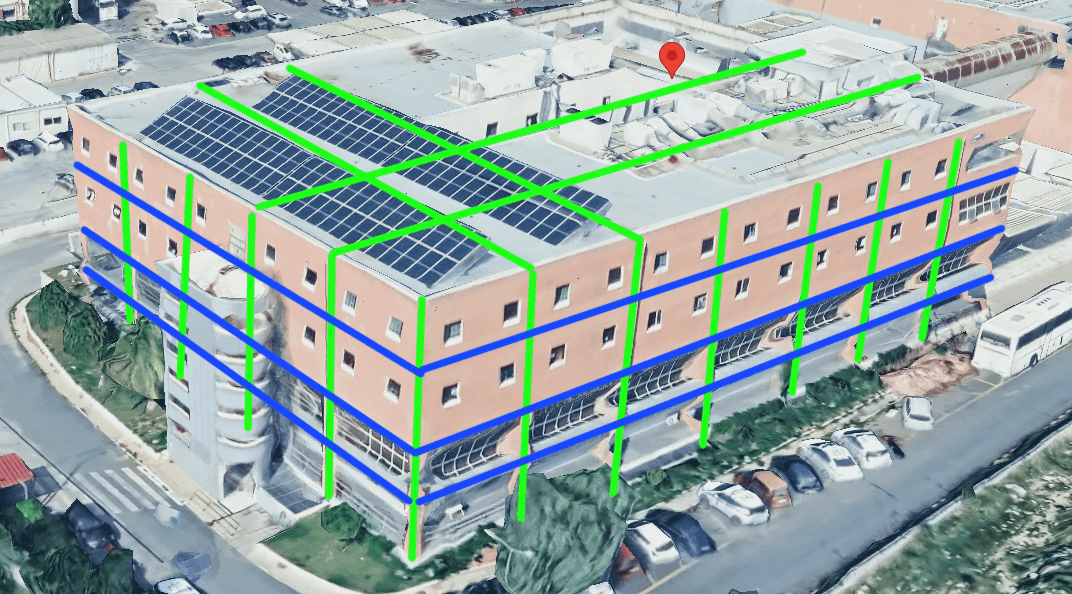
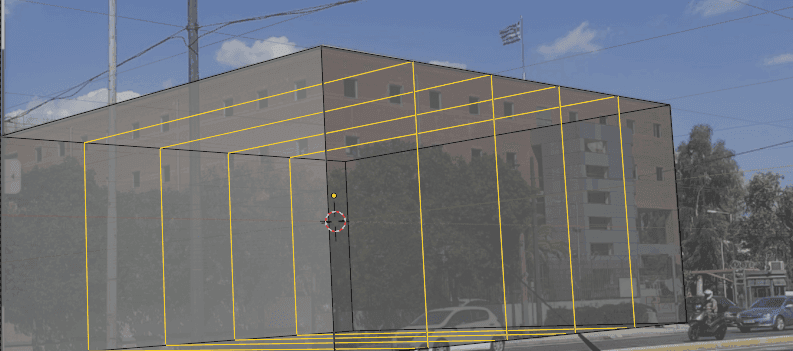
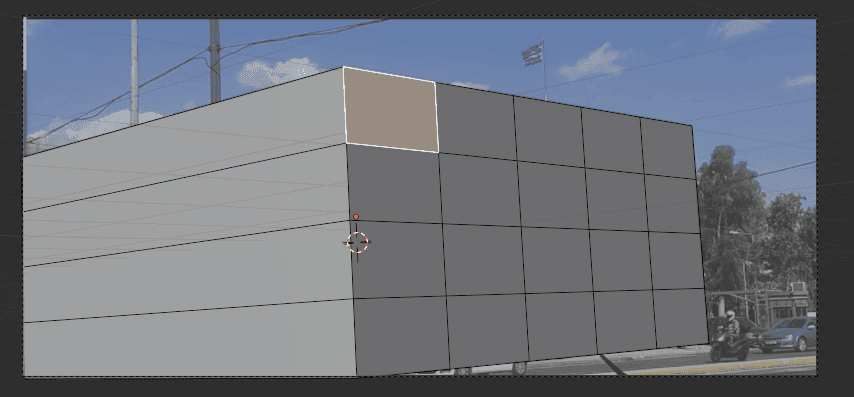
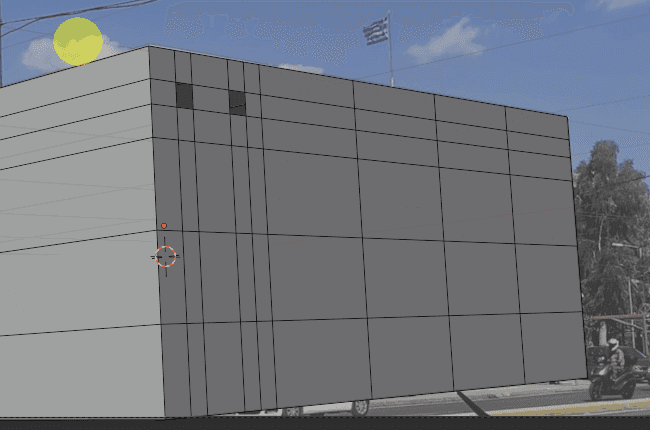
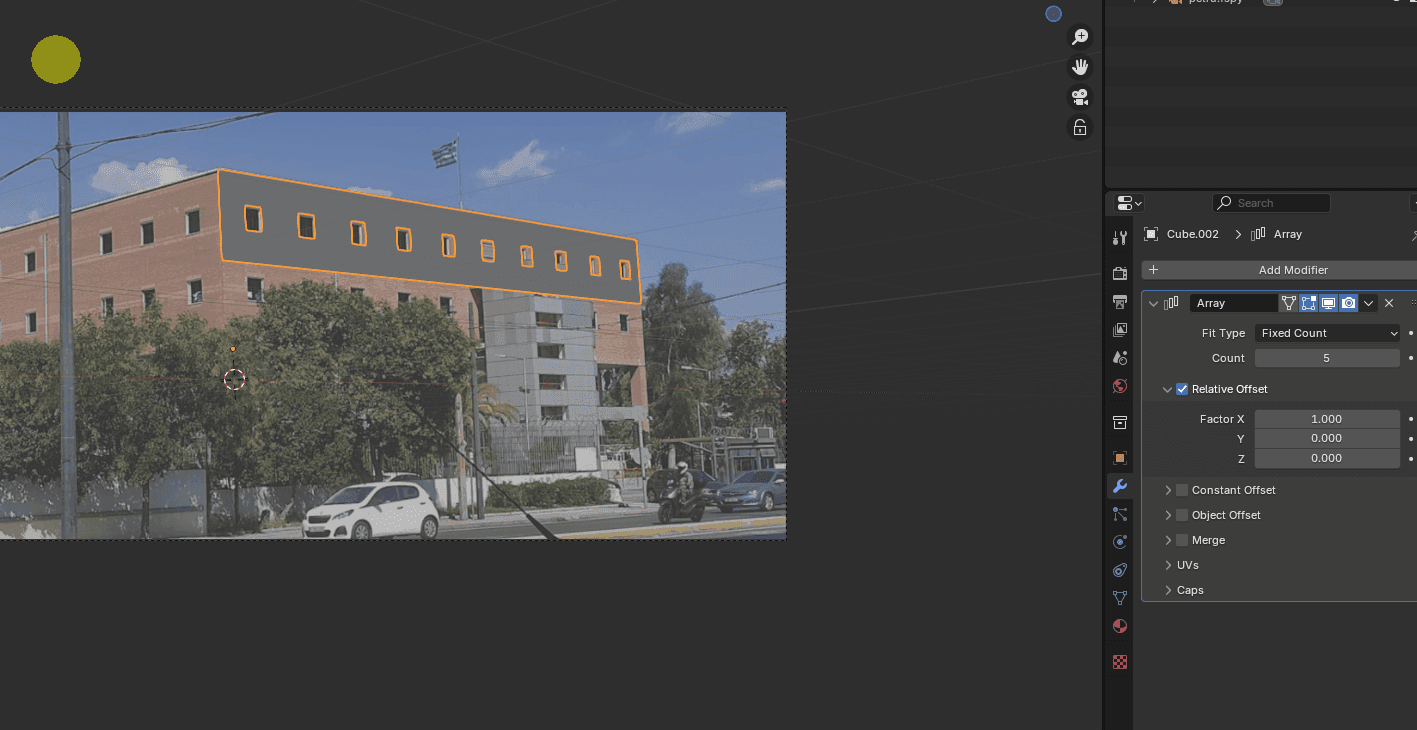
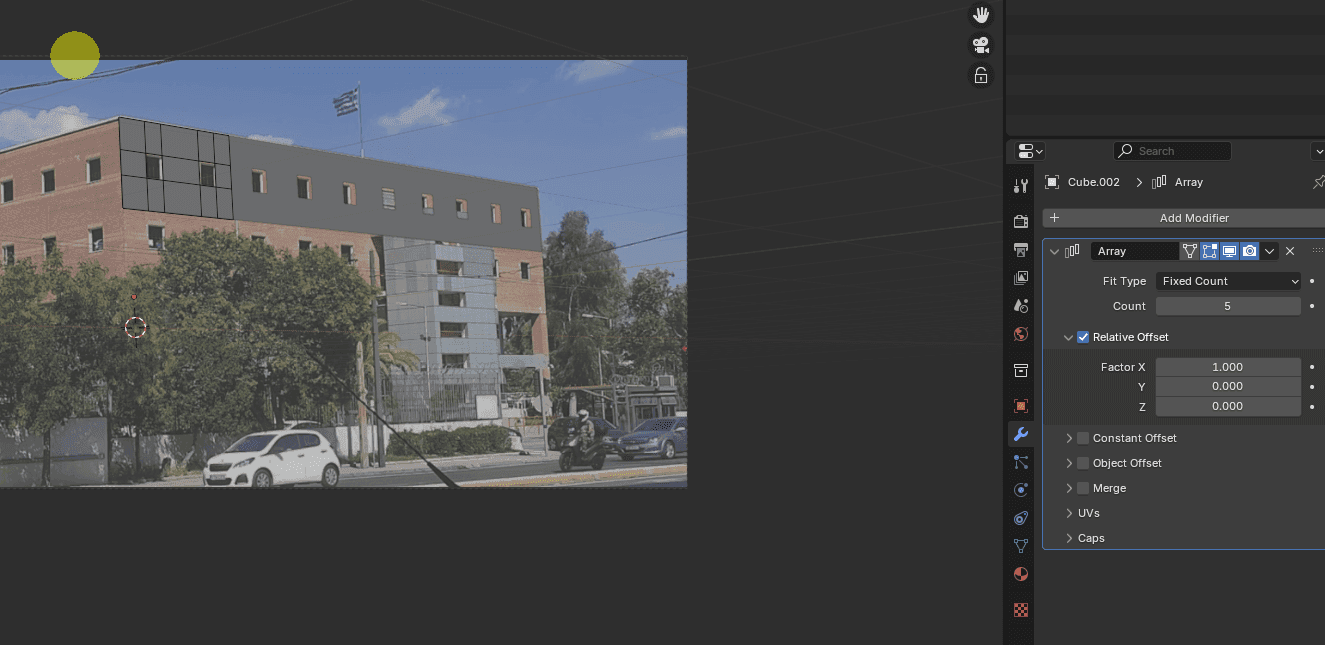
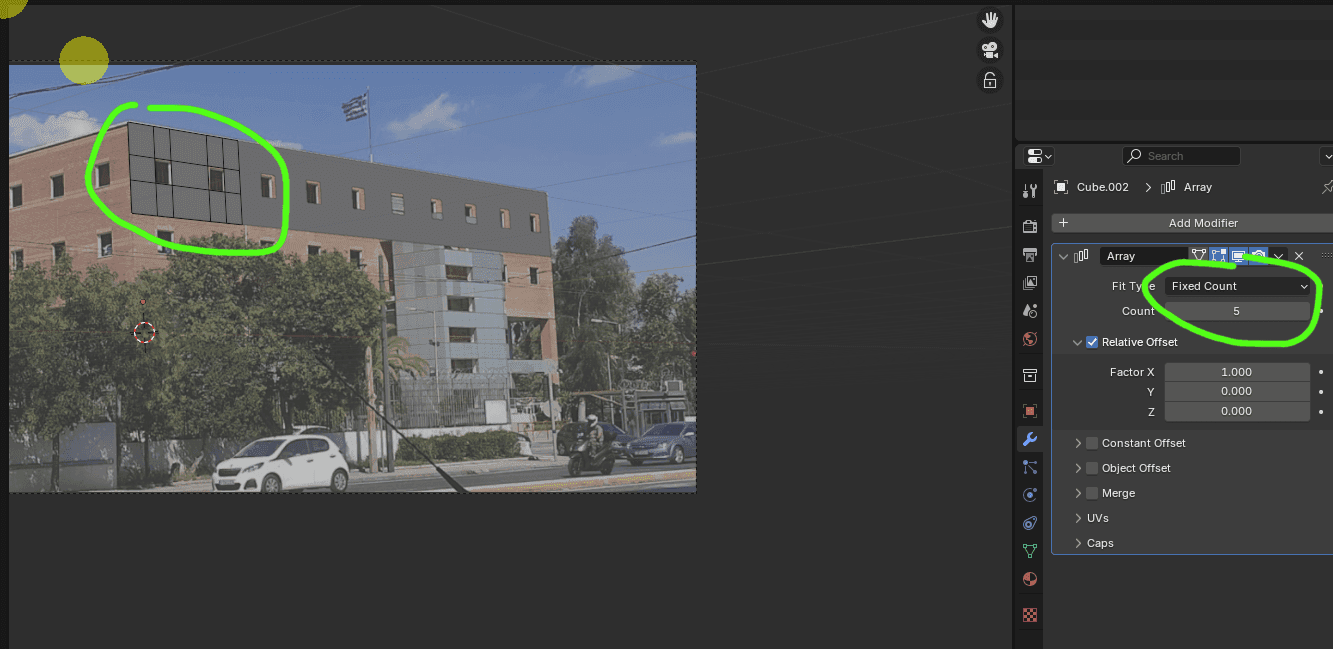
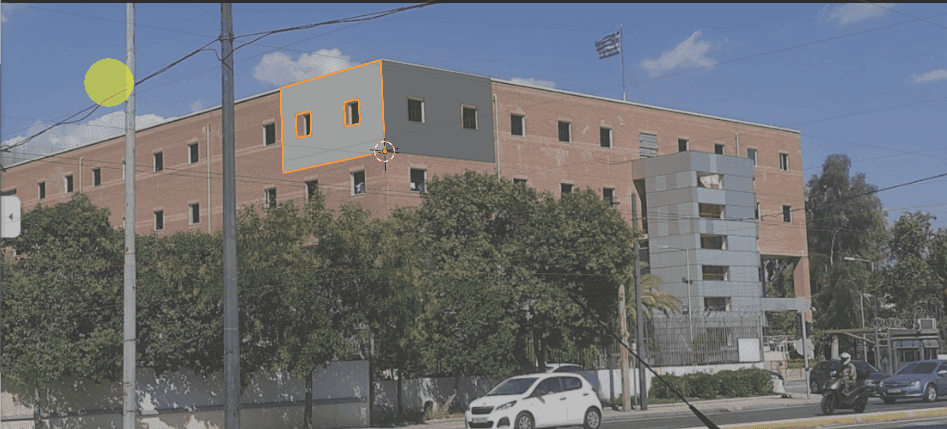
Before modeling, analyze your reference imagery (satellite photos, CCTV, etc.). Look for the Minimum Viable Kit.
- The Kit List Strategy:
- Straight Wall: The standard repeating unit.
- Corner (Inner/Outer): To turn the geometry 90 degrees.
- Transition: A piece that connects two different module types (e.g., wall to doorway).
- Caps/Trims: Top cornices or bottom foundations.
Linked Duplication (Alt+D)
This is the technical backbone of the workflow in Blender. Unlike Shift+D (which creates a unique copy), Alt+D creates a Linked Duplicate.
- Data Sharing: Linked duplicates share the same Mesh Data.
- Global Updates: If you discover a specific architectural detail in high-resolution evidence later, you edit one module. Every instance across your 10-block city model updates instantly.
- Memory Efficiency: Linked duplicates significantly reduce the RAM overhead, as Blender only stores the geometry of the original module once.
Advanced Management: The Asset Browser
For large-scale investigations, do not keep your modules in the main scene file.
- Create a Library: Model your modules in a dedicated
.blendfile. - Mark as Asset: Right-click the object/collection and select "Mark as Asset."
- Instance Collections: When building the scene, use Collection Instances rather than objects. This protects the original geometry from accidental edits and makes the scene layout incredibly "light" to navigate.
Addressing Repetition & Accuracy
A common critique of modularity is visual repetition. However, in Forensic Reconstruction, repetition is often a sign of accuracy.
- Honest Representation: Modern construction (pre-fab concrete, standard window frames) is inherently repetitive. Unless you have evidence of a unique defect (blast damage, graffiti, structural failure), do not add "noise" just for aesthetics.
- Material Variation: You can break repetition by using Object Info nodes in your shaders to vary colors or grime levels slightly between modules, even if the geometry is identical.
Recommended Next Steps
- Define your "Master Grid": Before starting the model, decide if you are working on a 1m, 2m, or 3m grid.
- Establish a Naming Convention: (e.g.,
MOD_Wall_Window_3x3m).